Freeday widget in SharePoint
This document explains how to display the Freeday chat inside your SharePoint
environment. Freeday provides the SharePoint package (.sppkg) — contact your
Freeday representative to obtain it and your Channel ID.
Choose a deployment strategy
| Page-specific | Site-wide | |
|---|---|---|
| Package | freeday-widget.sppkg |
freeday-widget-global.sppkg |
| Visibility | Only on selected pages | Automatically on every page |
| Configuration | Property pane per page | A single SharePoint list |
| Channel ID | Can vary per page | One per site |
| Best for | Targeted or controlled rollout | A company-wide assistant |
Start with the page-specific option to validate, then move to site-wide for production.
Prerequisites
- SharePoint Admin access.
- Your Freeday Channel ID.
- The corresponding
.sppkgpackage from Freeday.
Page-specific deployment
1. Upload to the App Catalog
- Go to
https://[your-tenant]-admin.sharepoint.com. - Navigate to More features → Apps → Open → App Catalog.
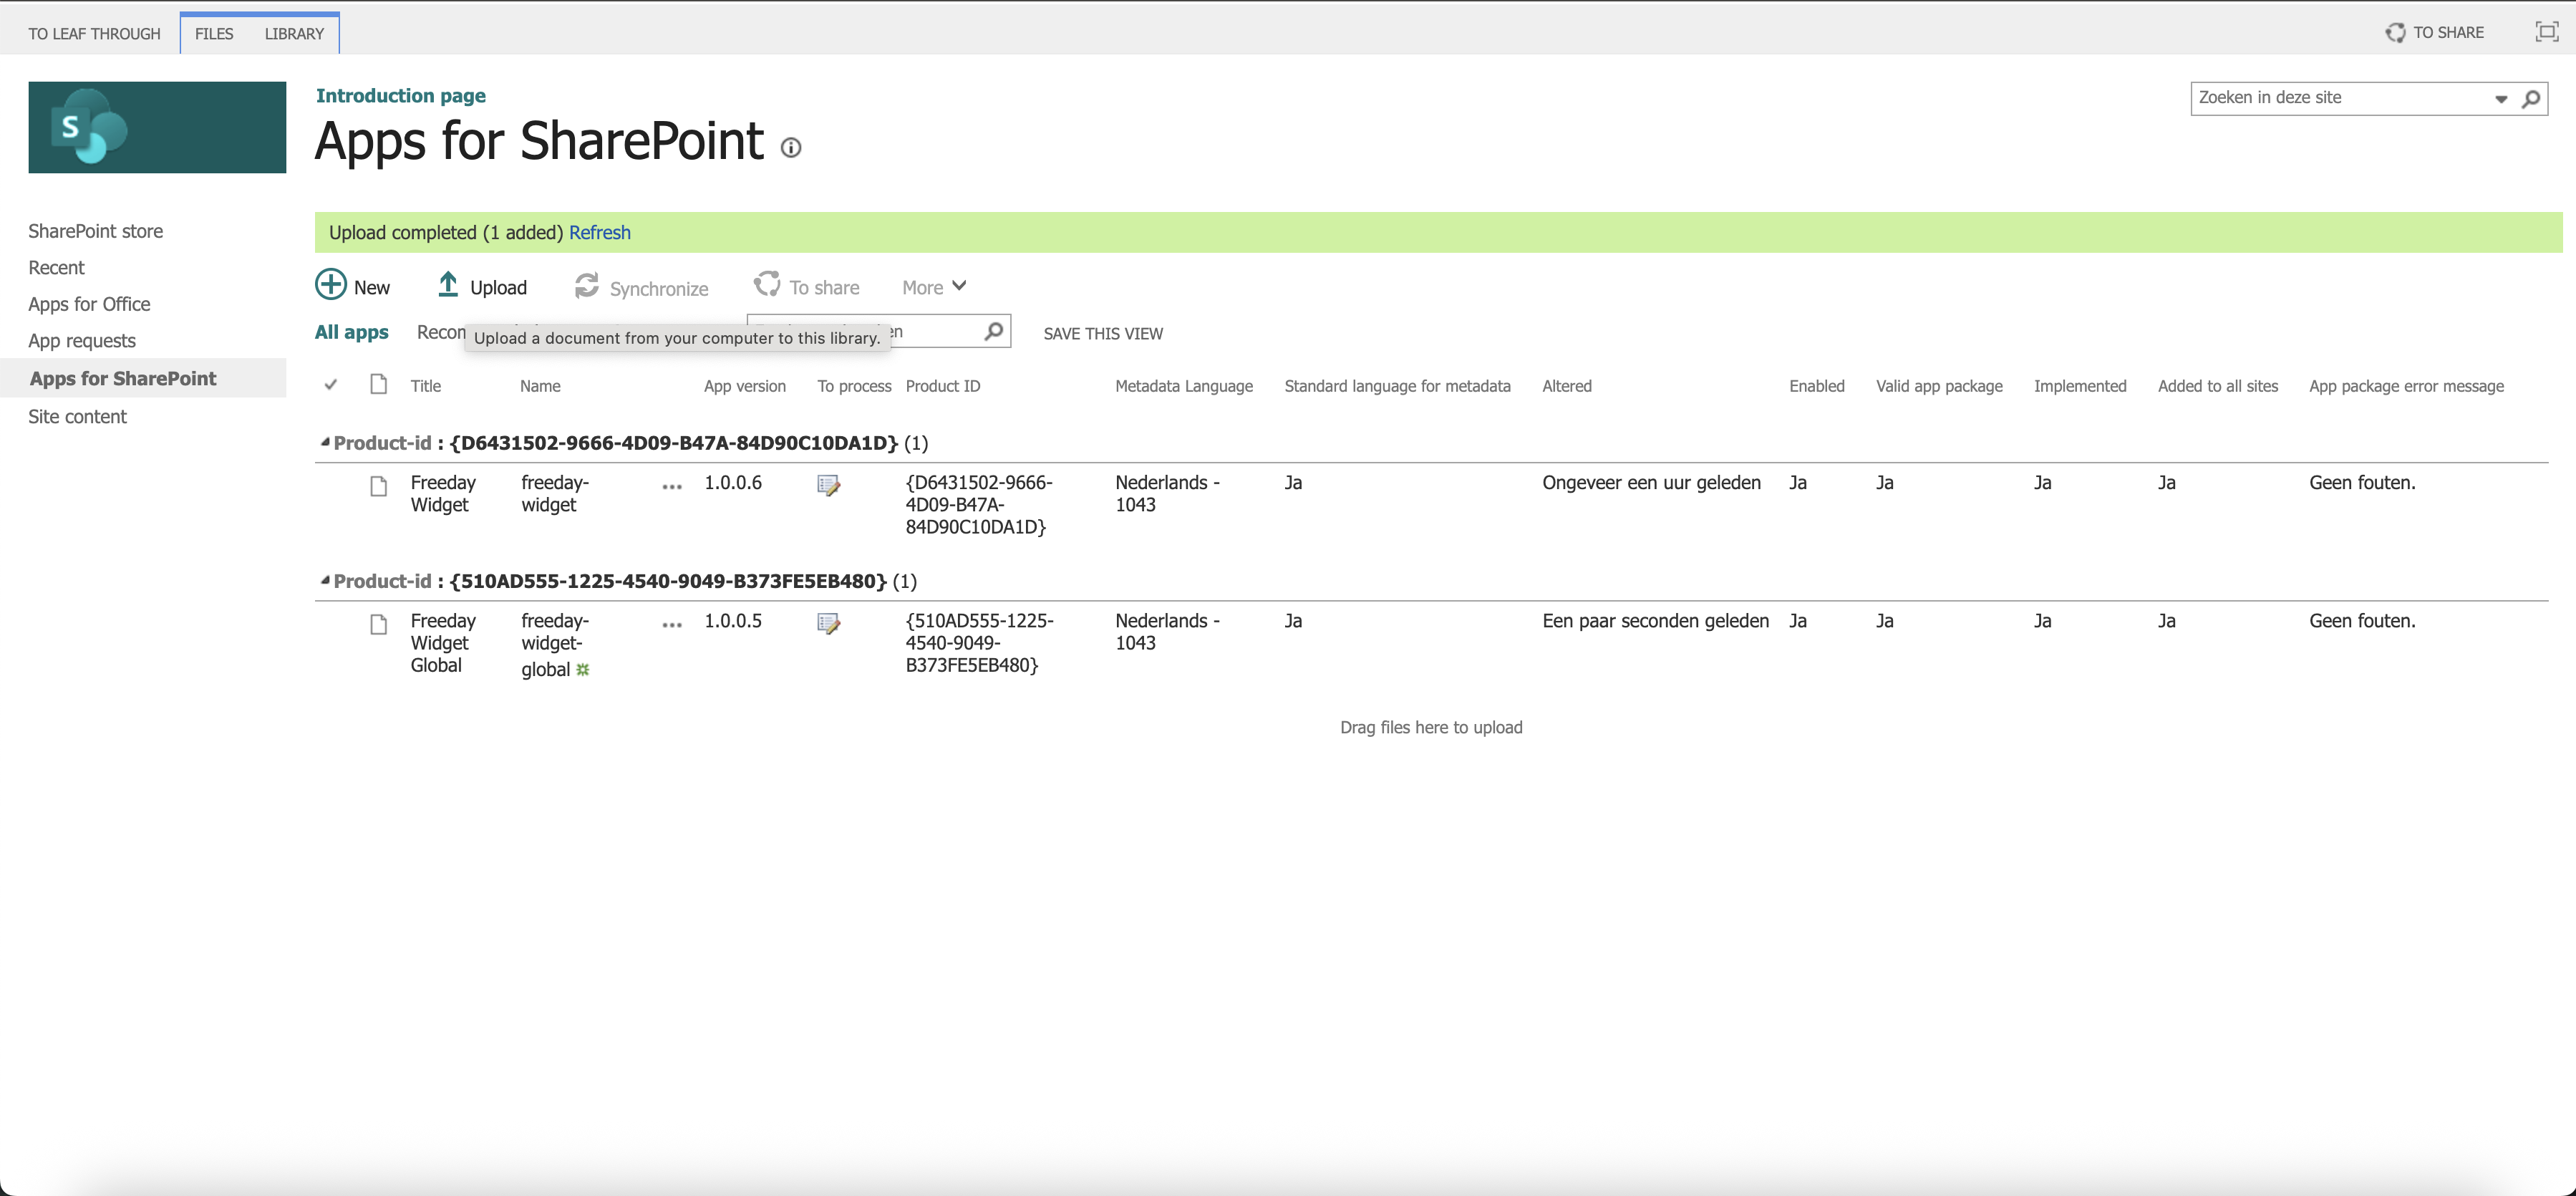
- Choose Apps for SharePoint and upload
freeday-widget.sppkg. - Enable "Make this solution available to all sites in the organization".
- Click Deploy.
2. Configure security (required)
-
Allowlist SharePoint in Freeday: provide your SharePoint domain
(
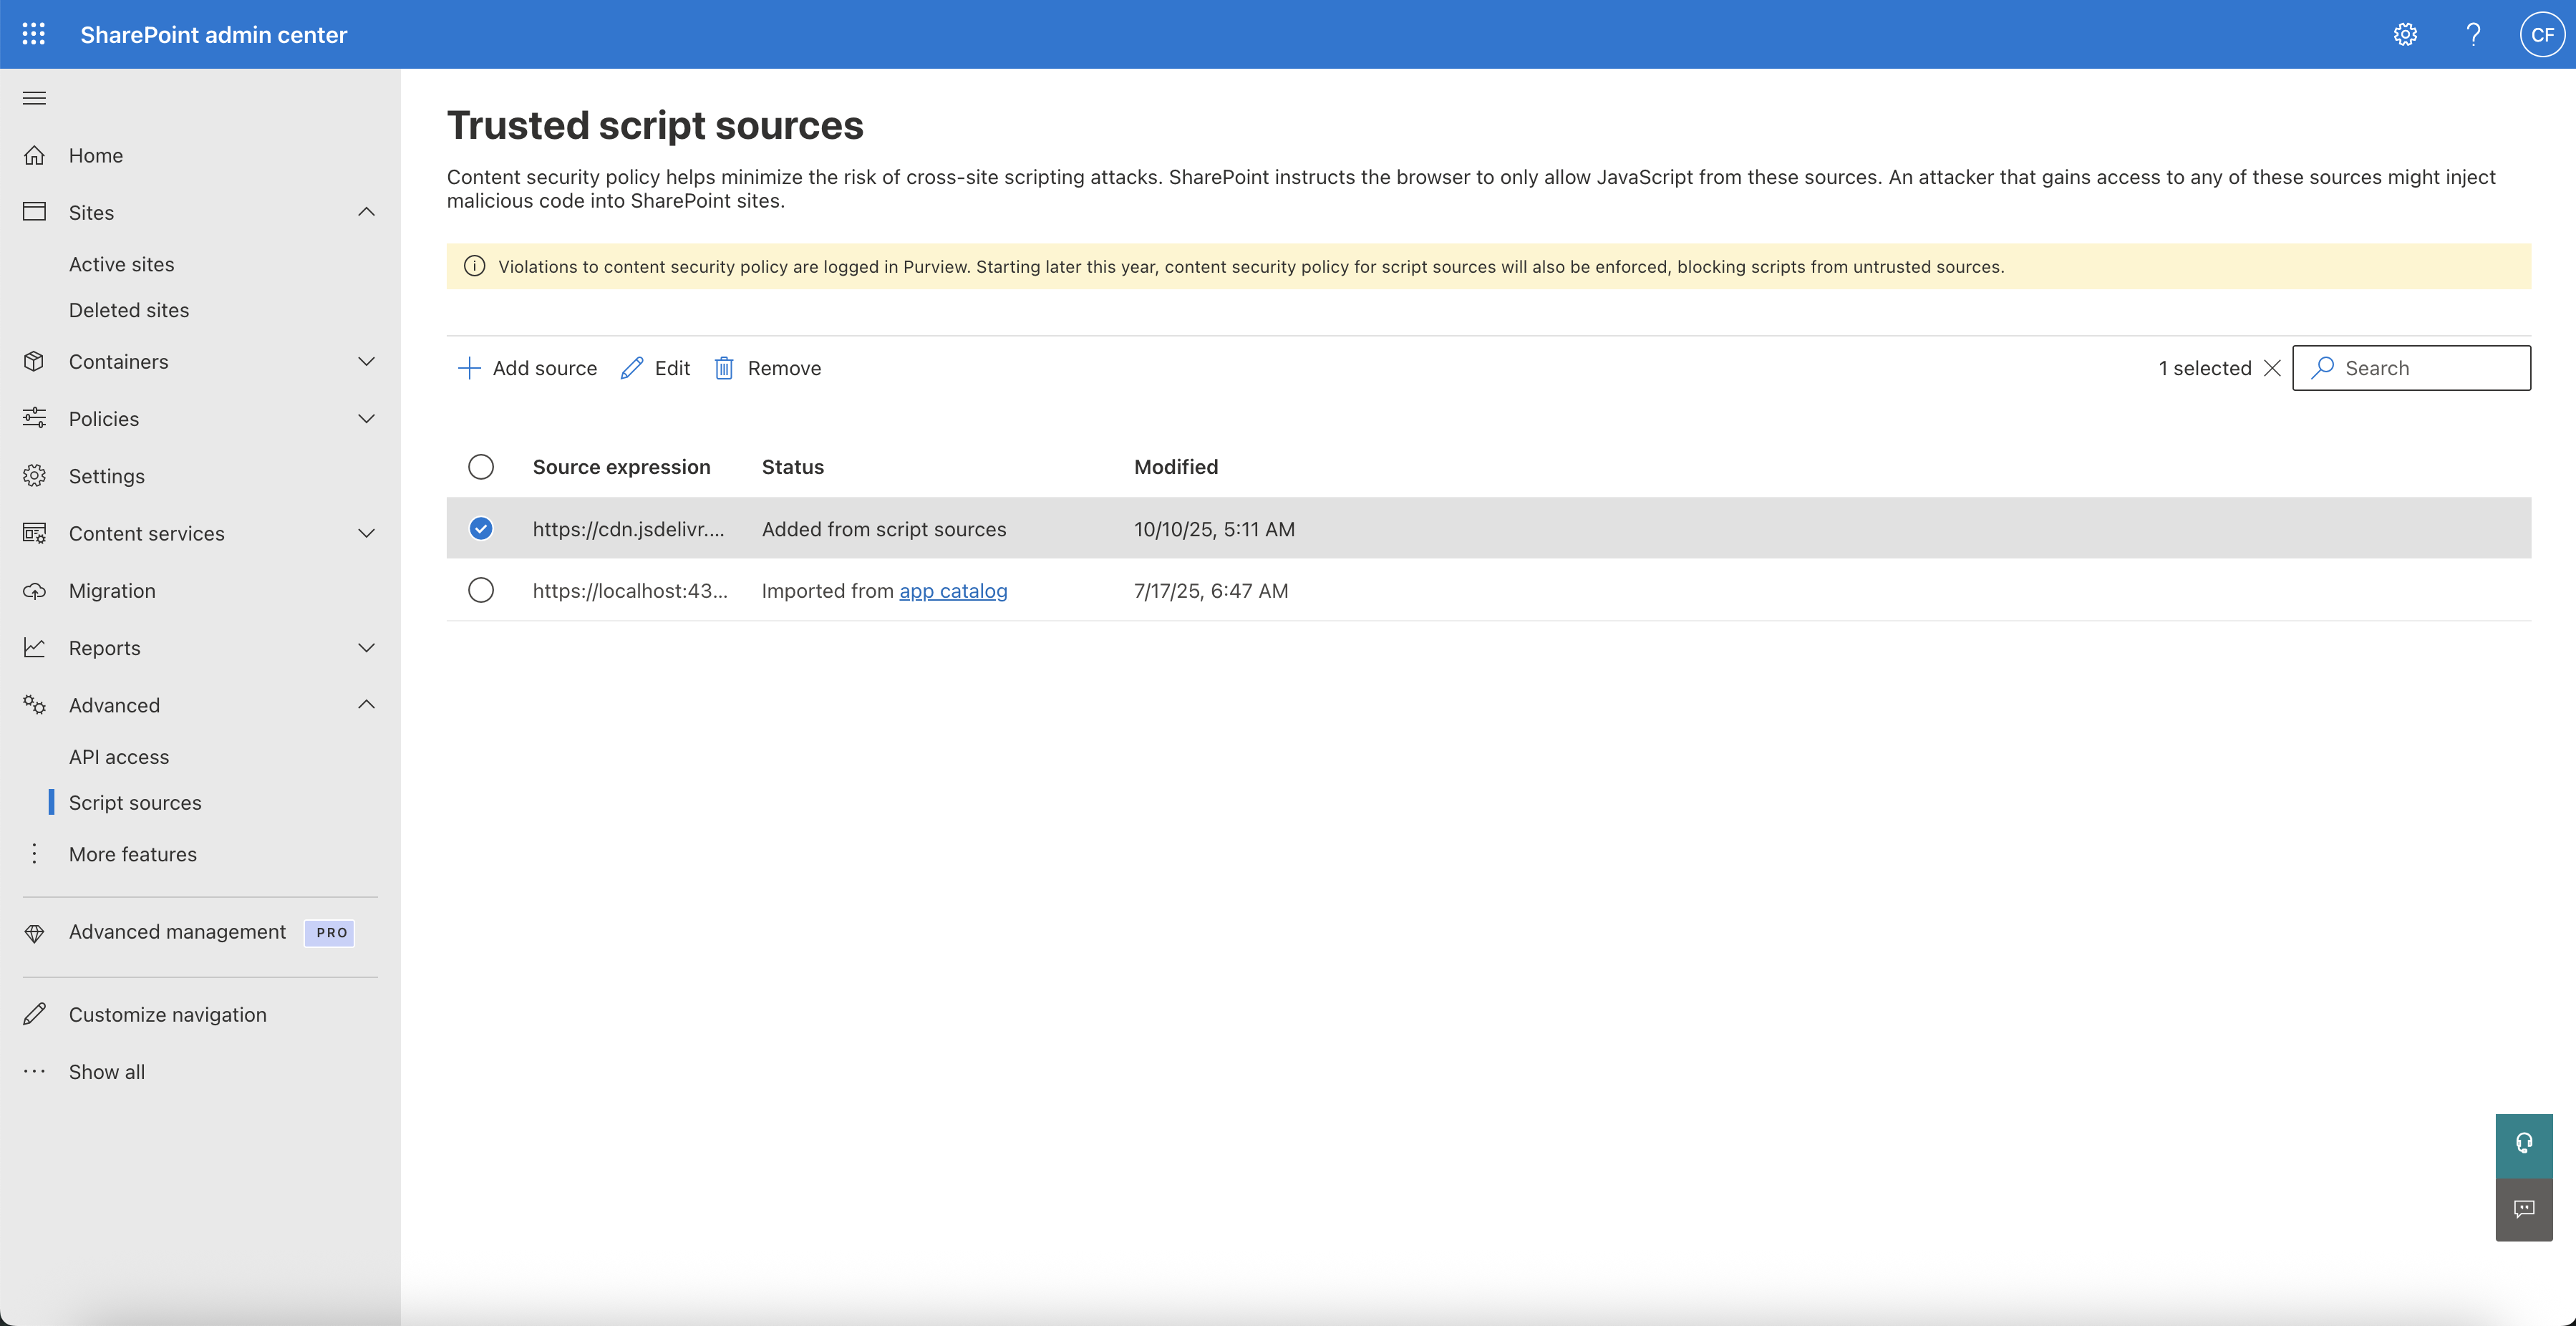
https://[your-tenant].sharepoint.com) to Freeday so it can be added to the allowed websites. - Trust the Freeday CDN in SharePoint: go to SharePoint Admin Center →
Settings → Script sources → + Add source and add
https://cdn.jsdelivr.net.
3. Add to a site and pages
- Site level: + New → App → search "Freeday Widget" → Add.
- Page level: Edit page → + → search "Freeday Widget" → Add web part.
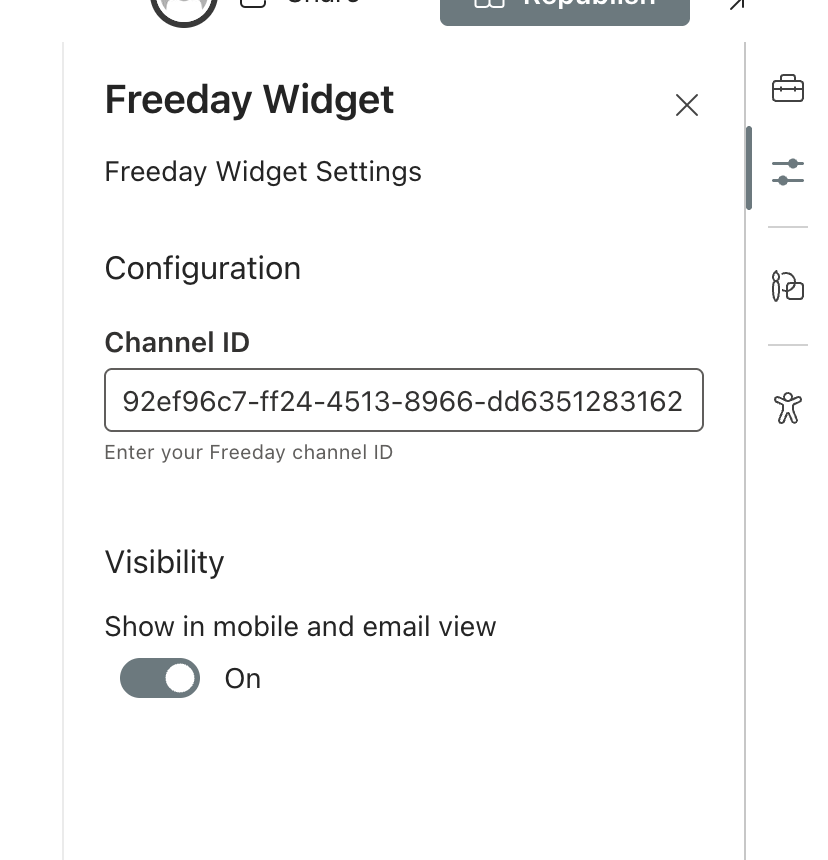
- Enter your Channel ID in the property pane and click Publish.
The widget then appears only on the pages you configure.
Site-wide deployment
1. Upload to the App Catalog
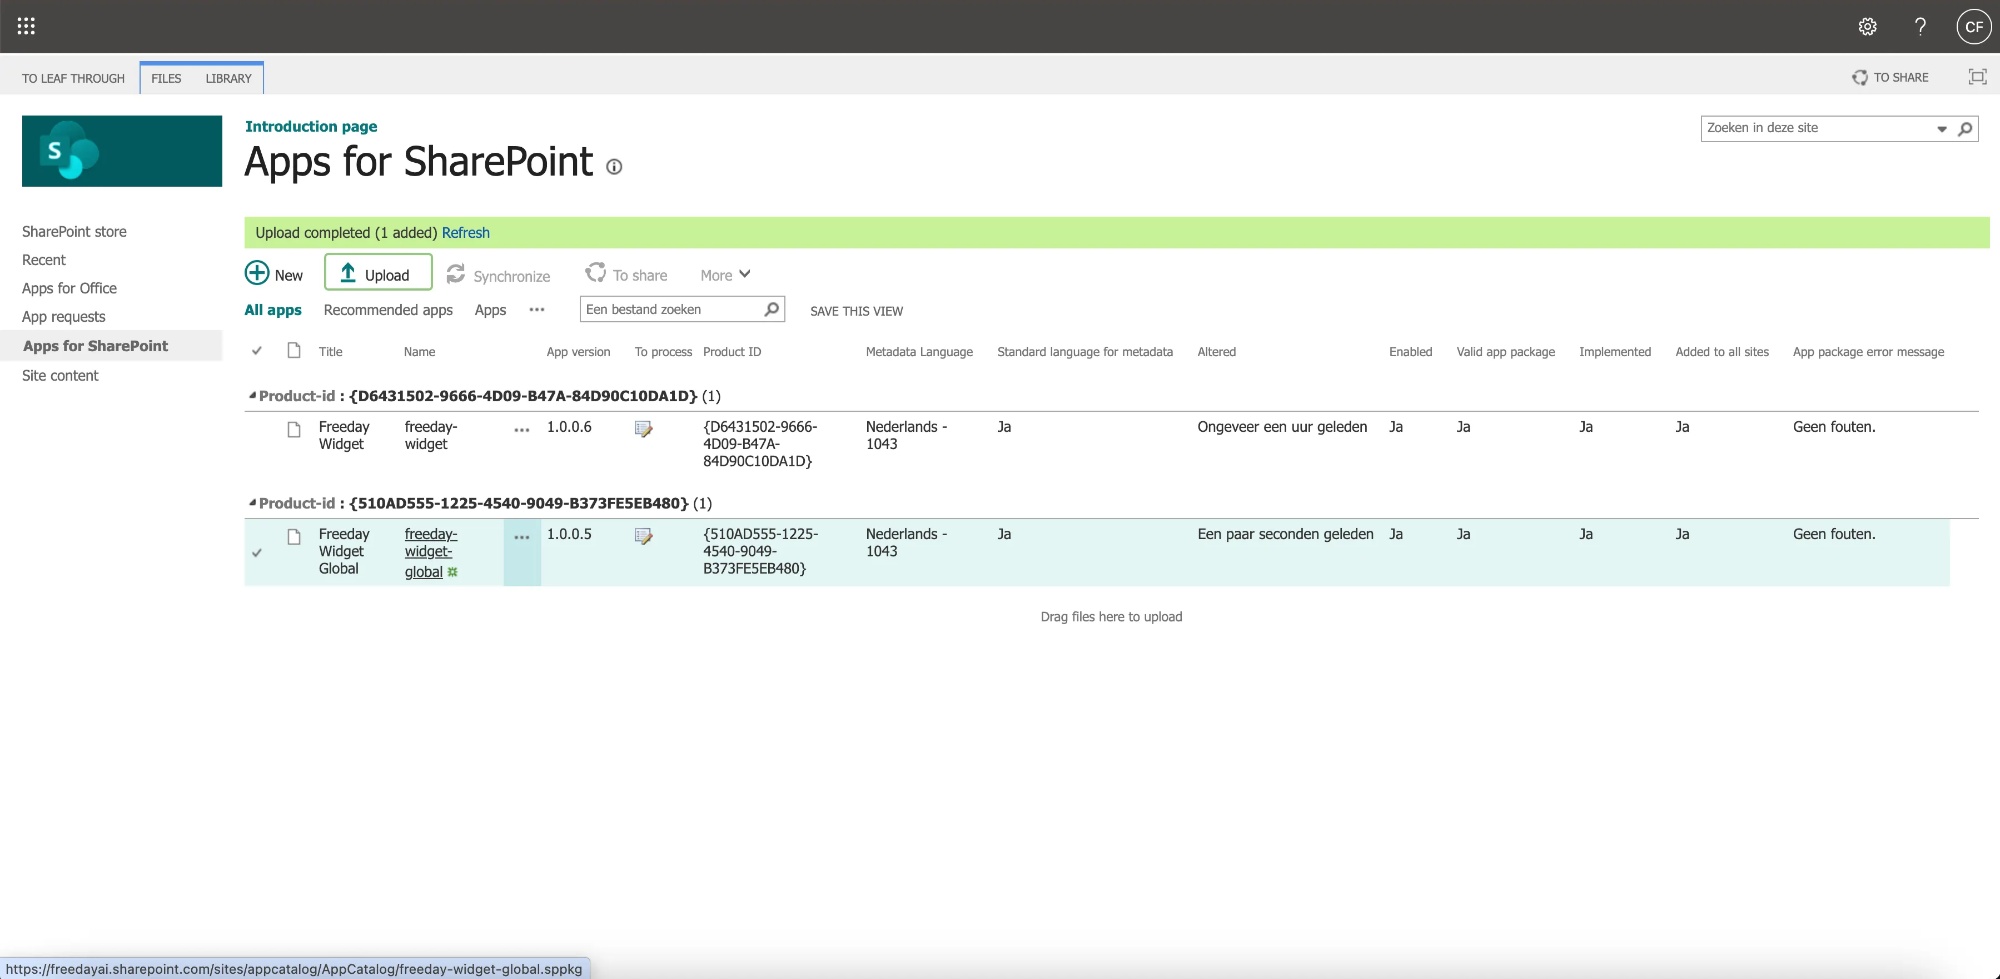
Same as the page-specific deployment, but upload freeday-widget-global.sppkg.
2. Configure security
Same as the page-specific security step.
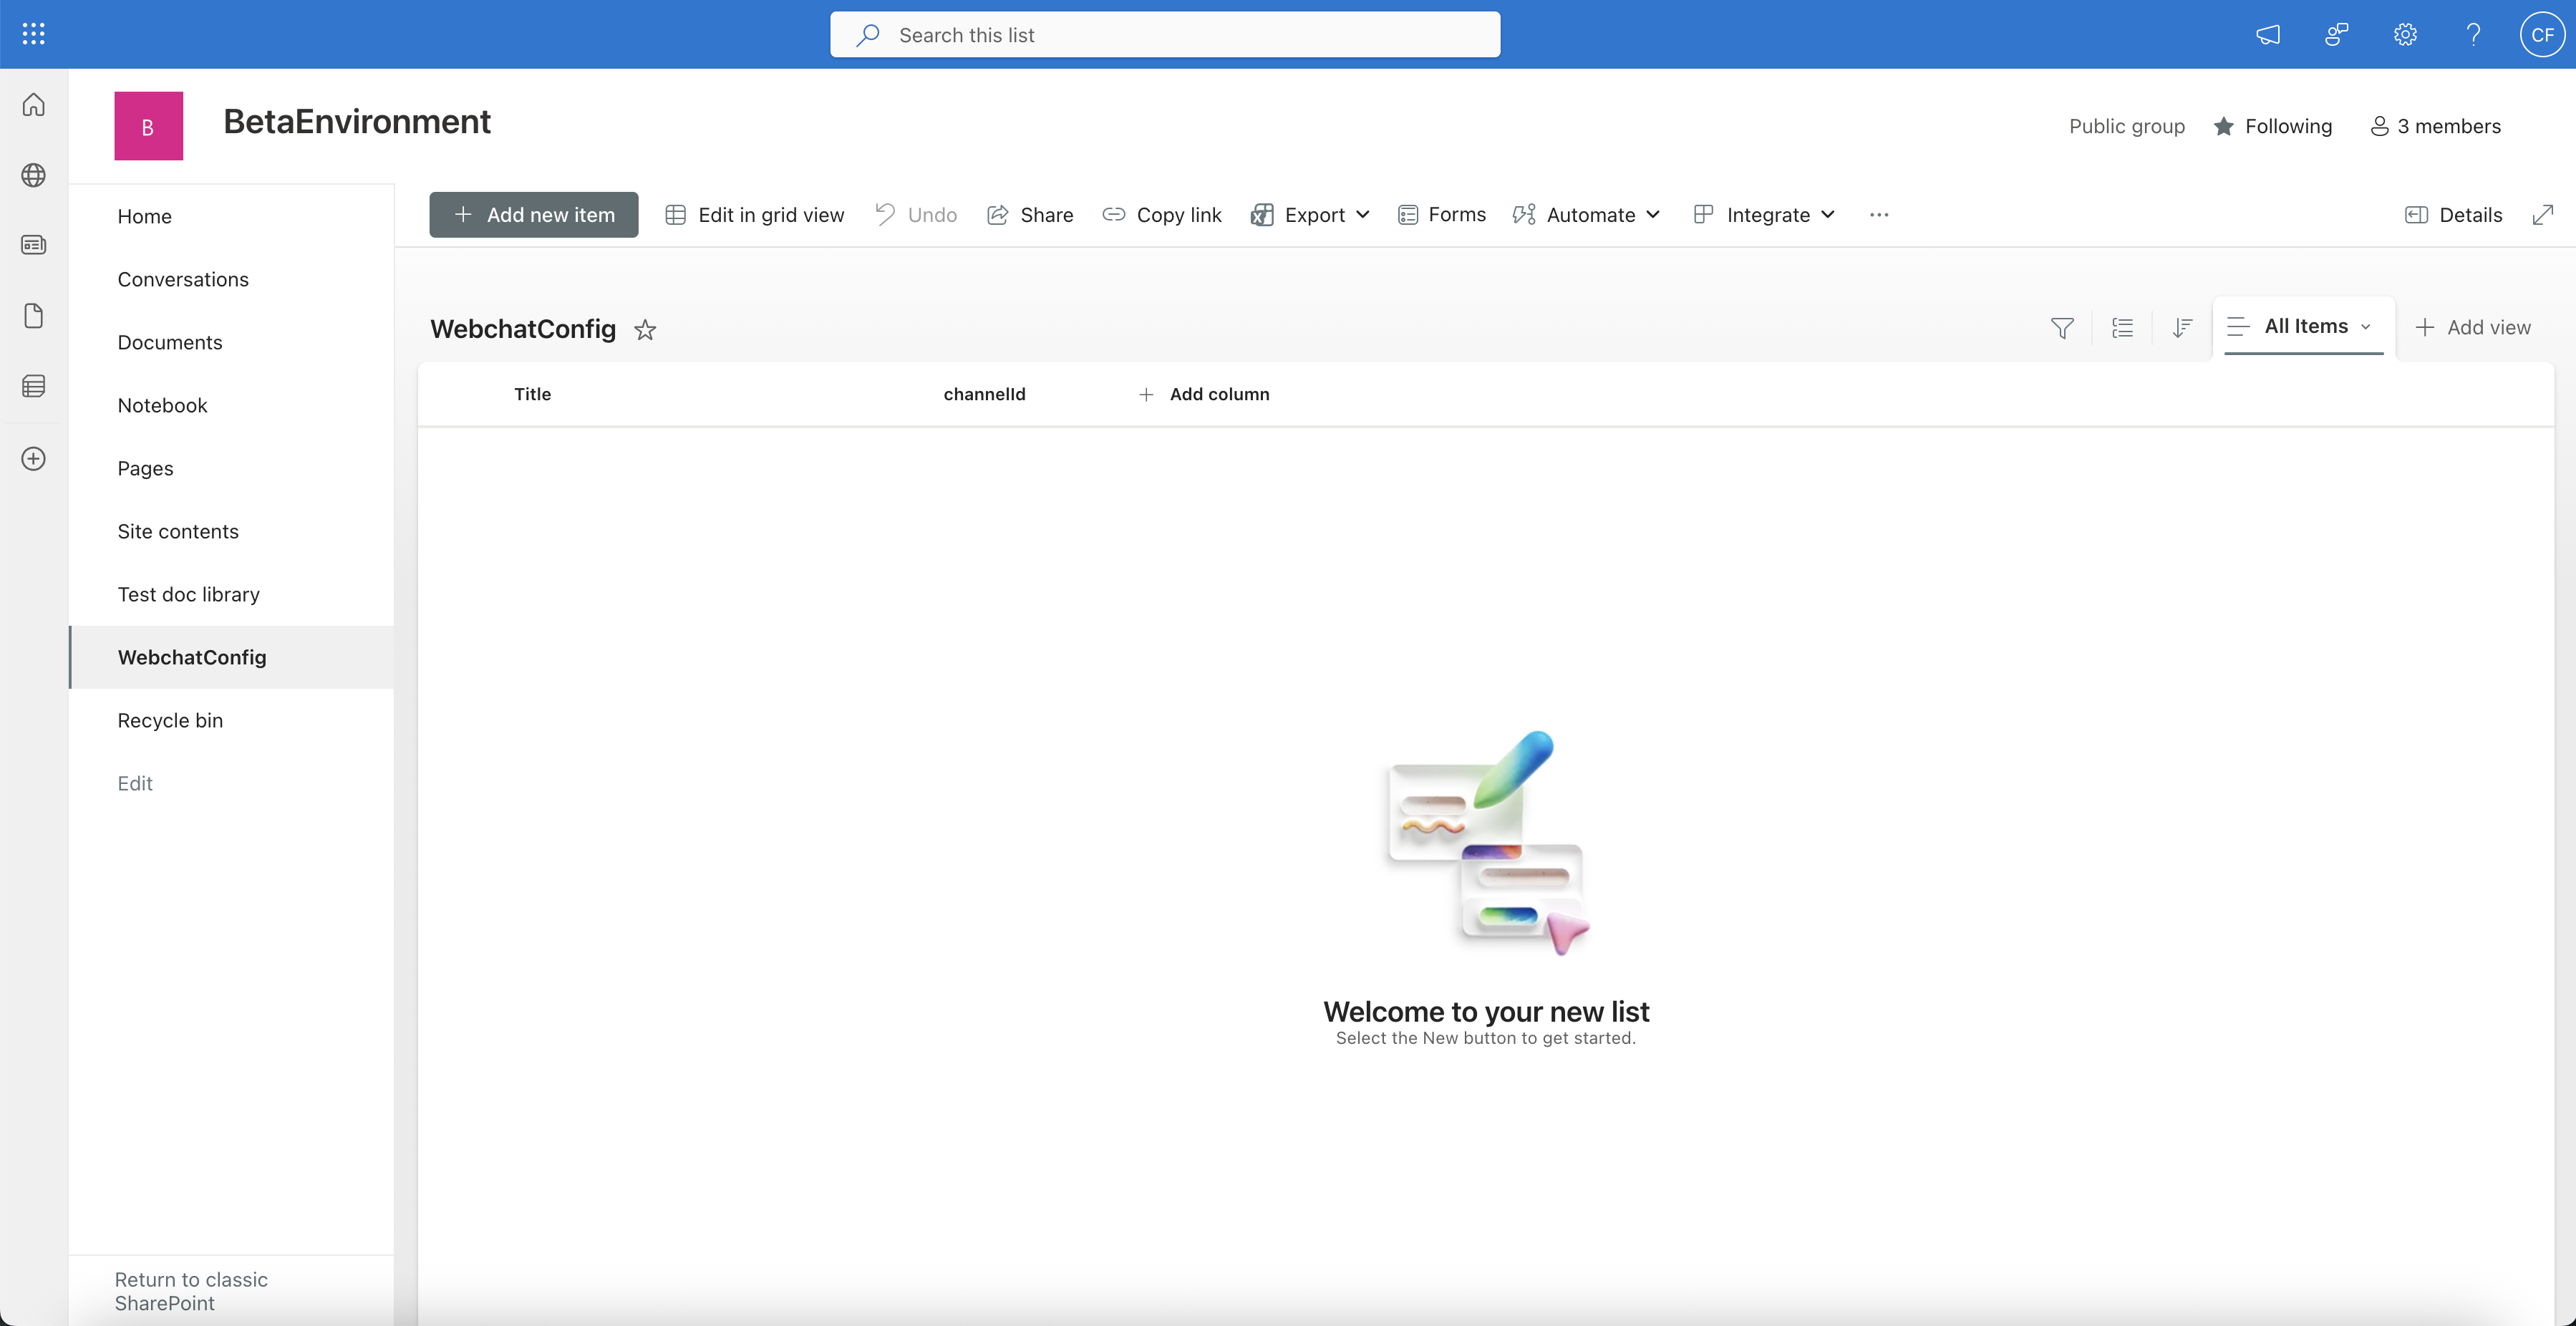
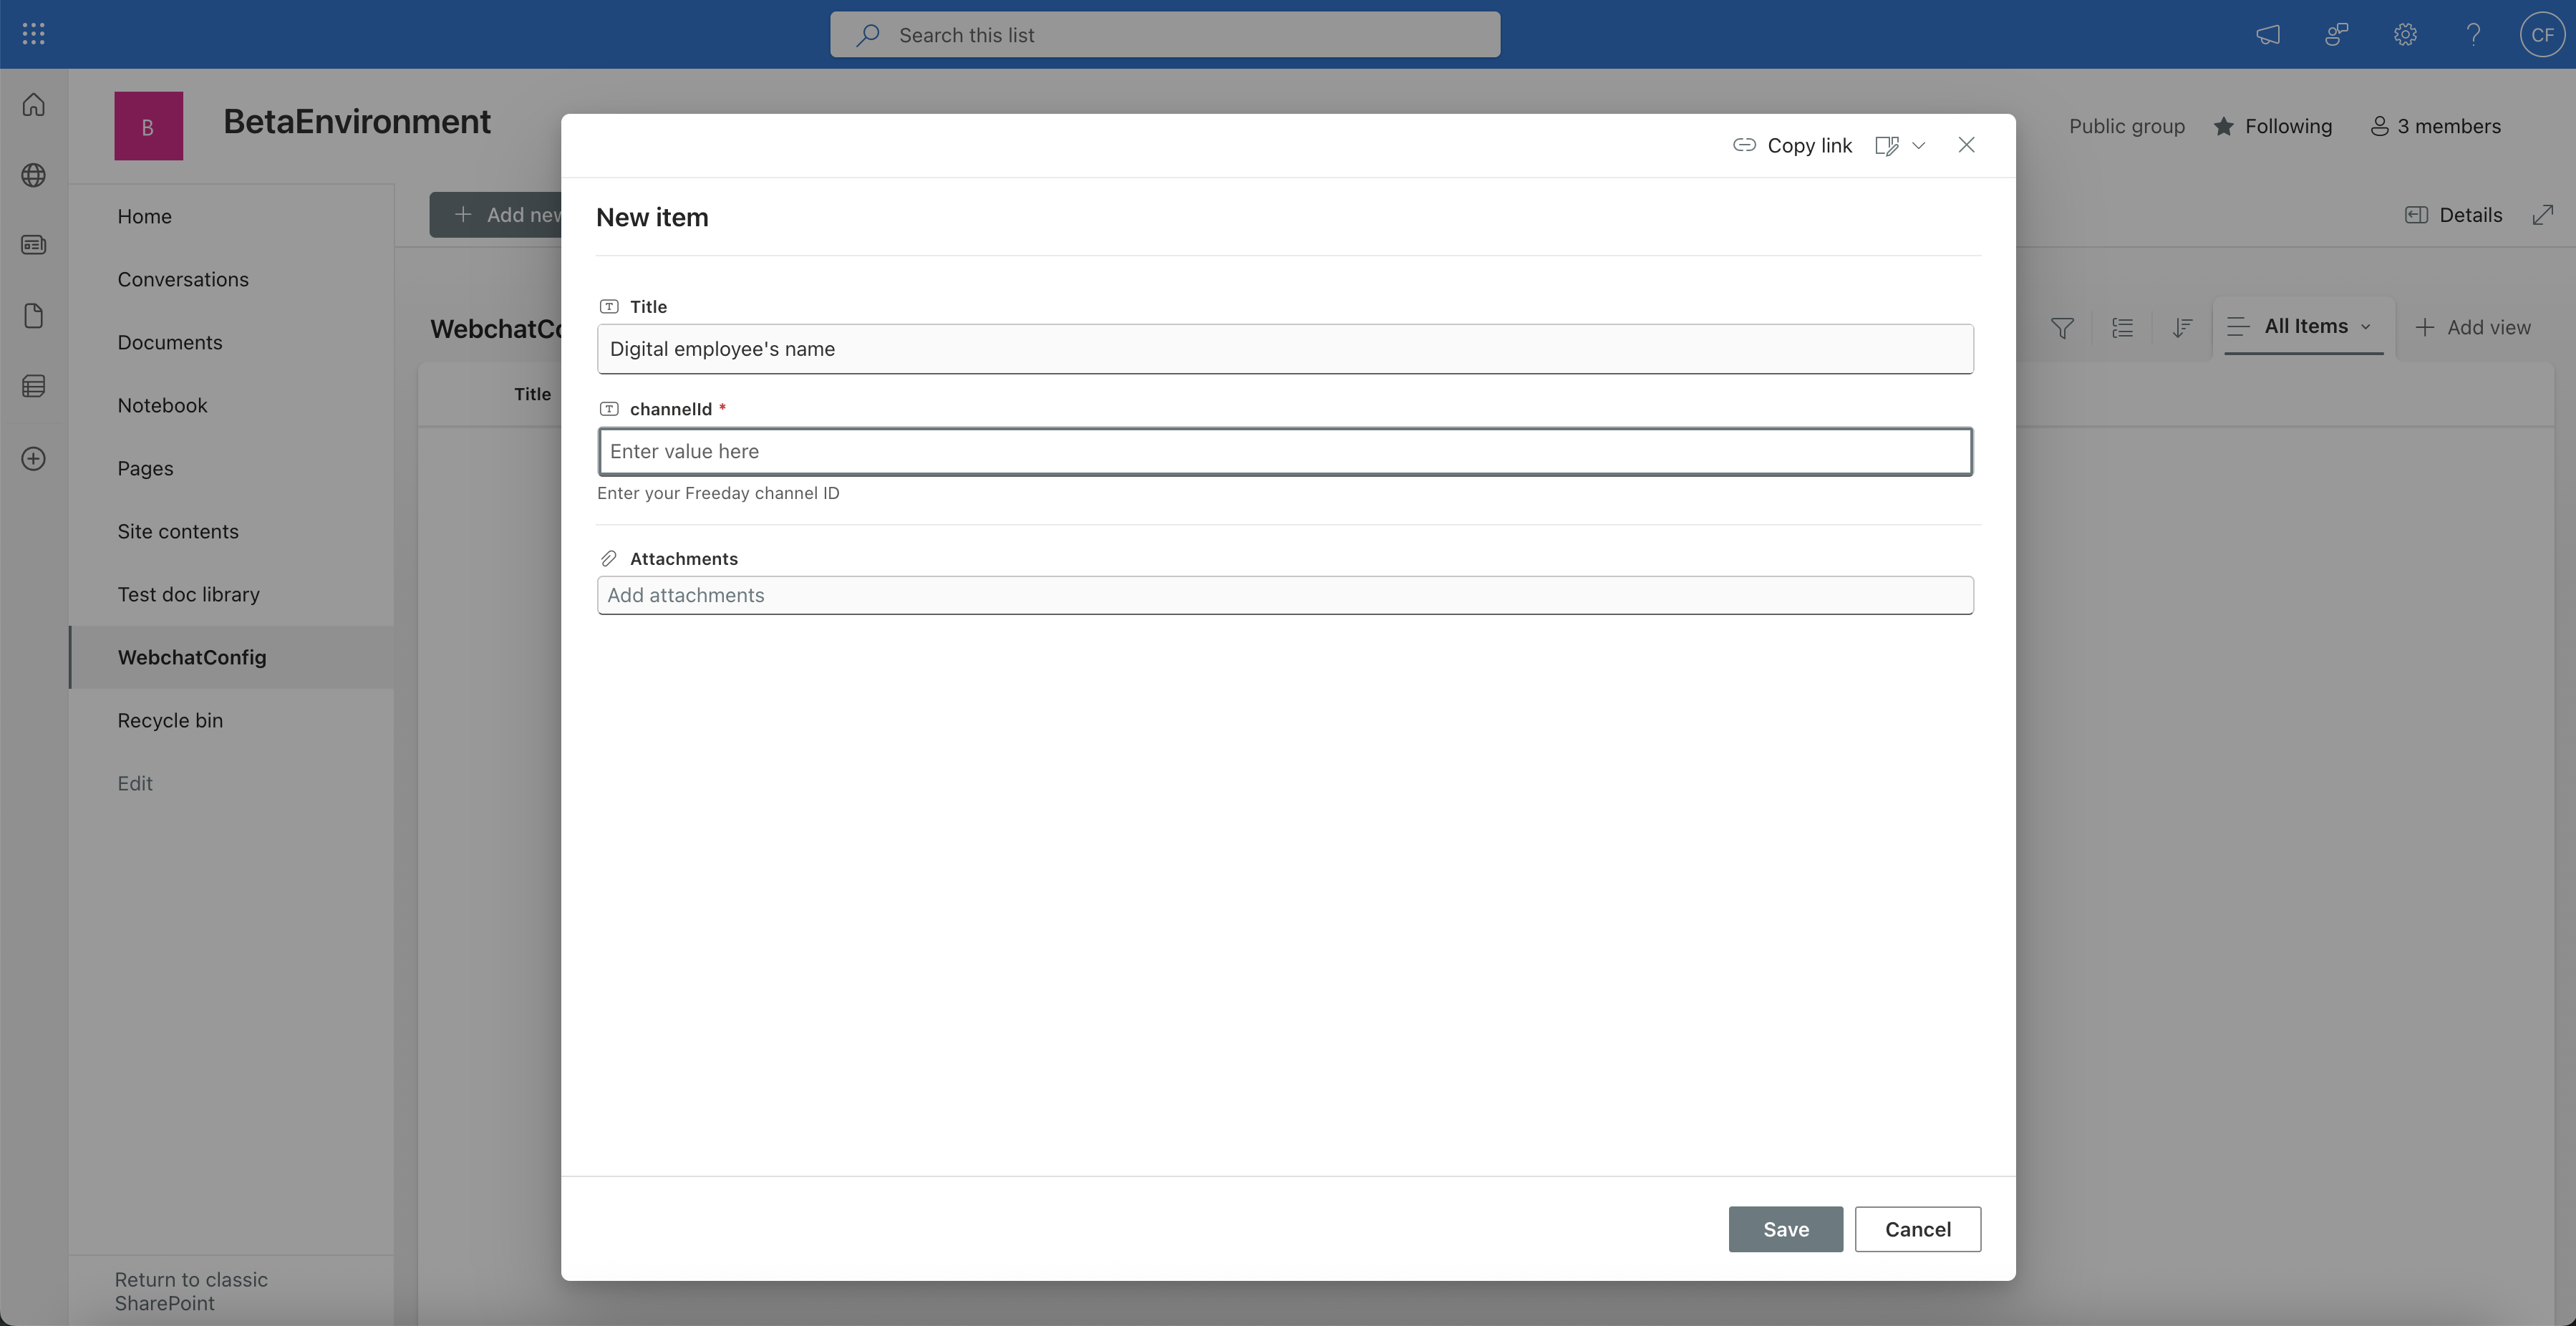
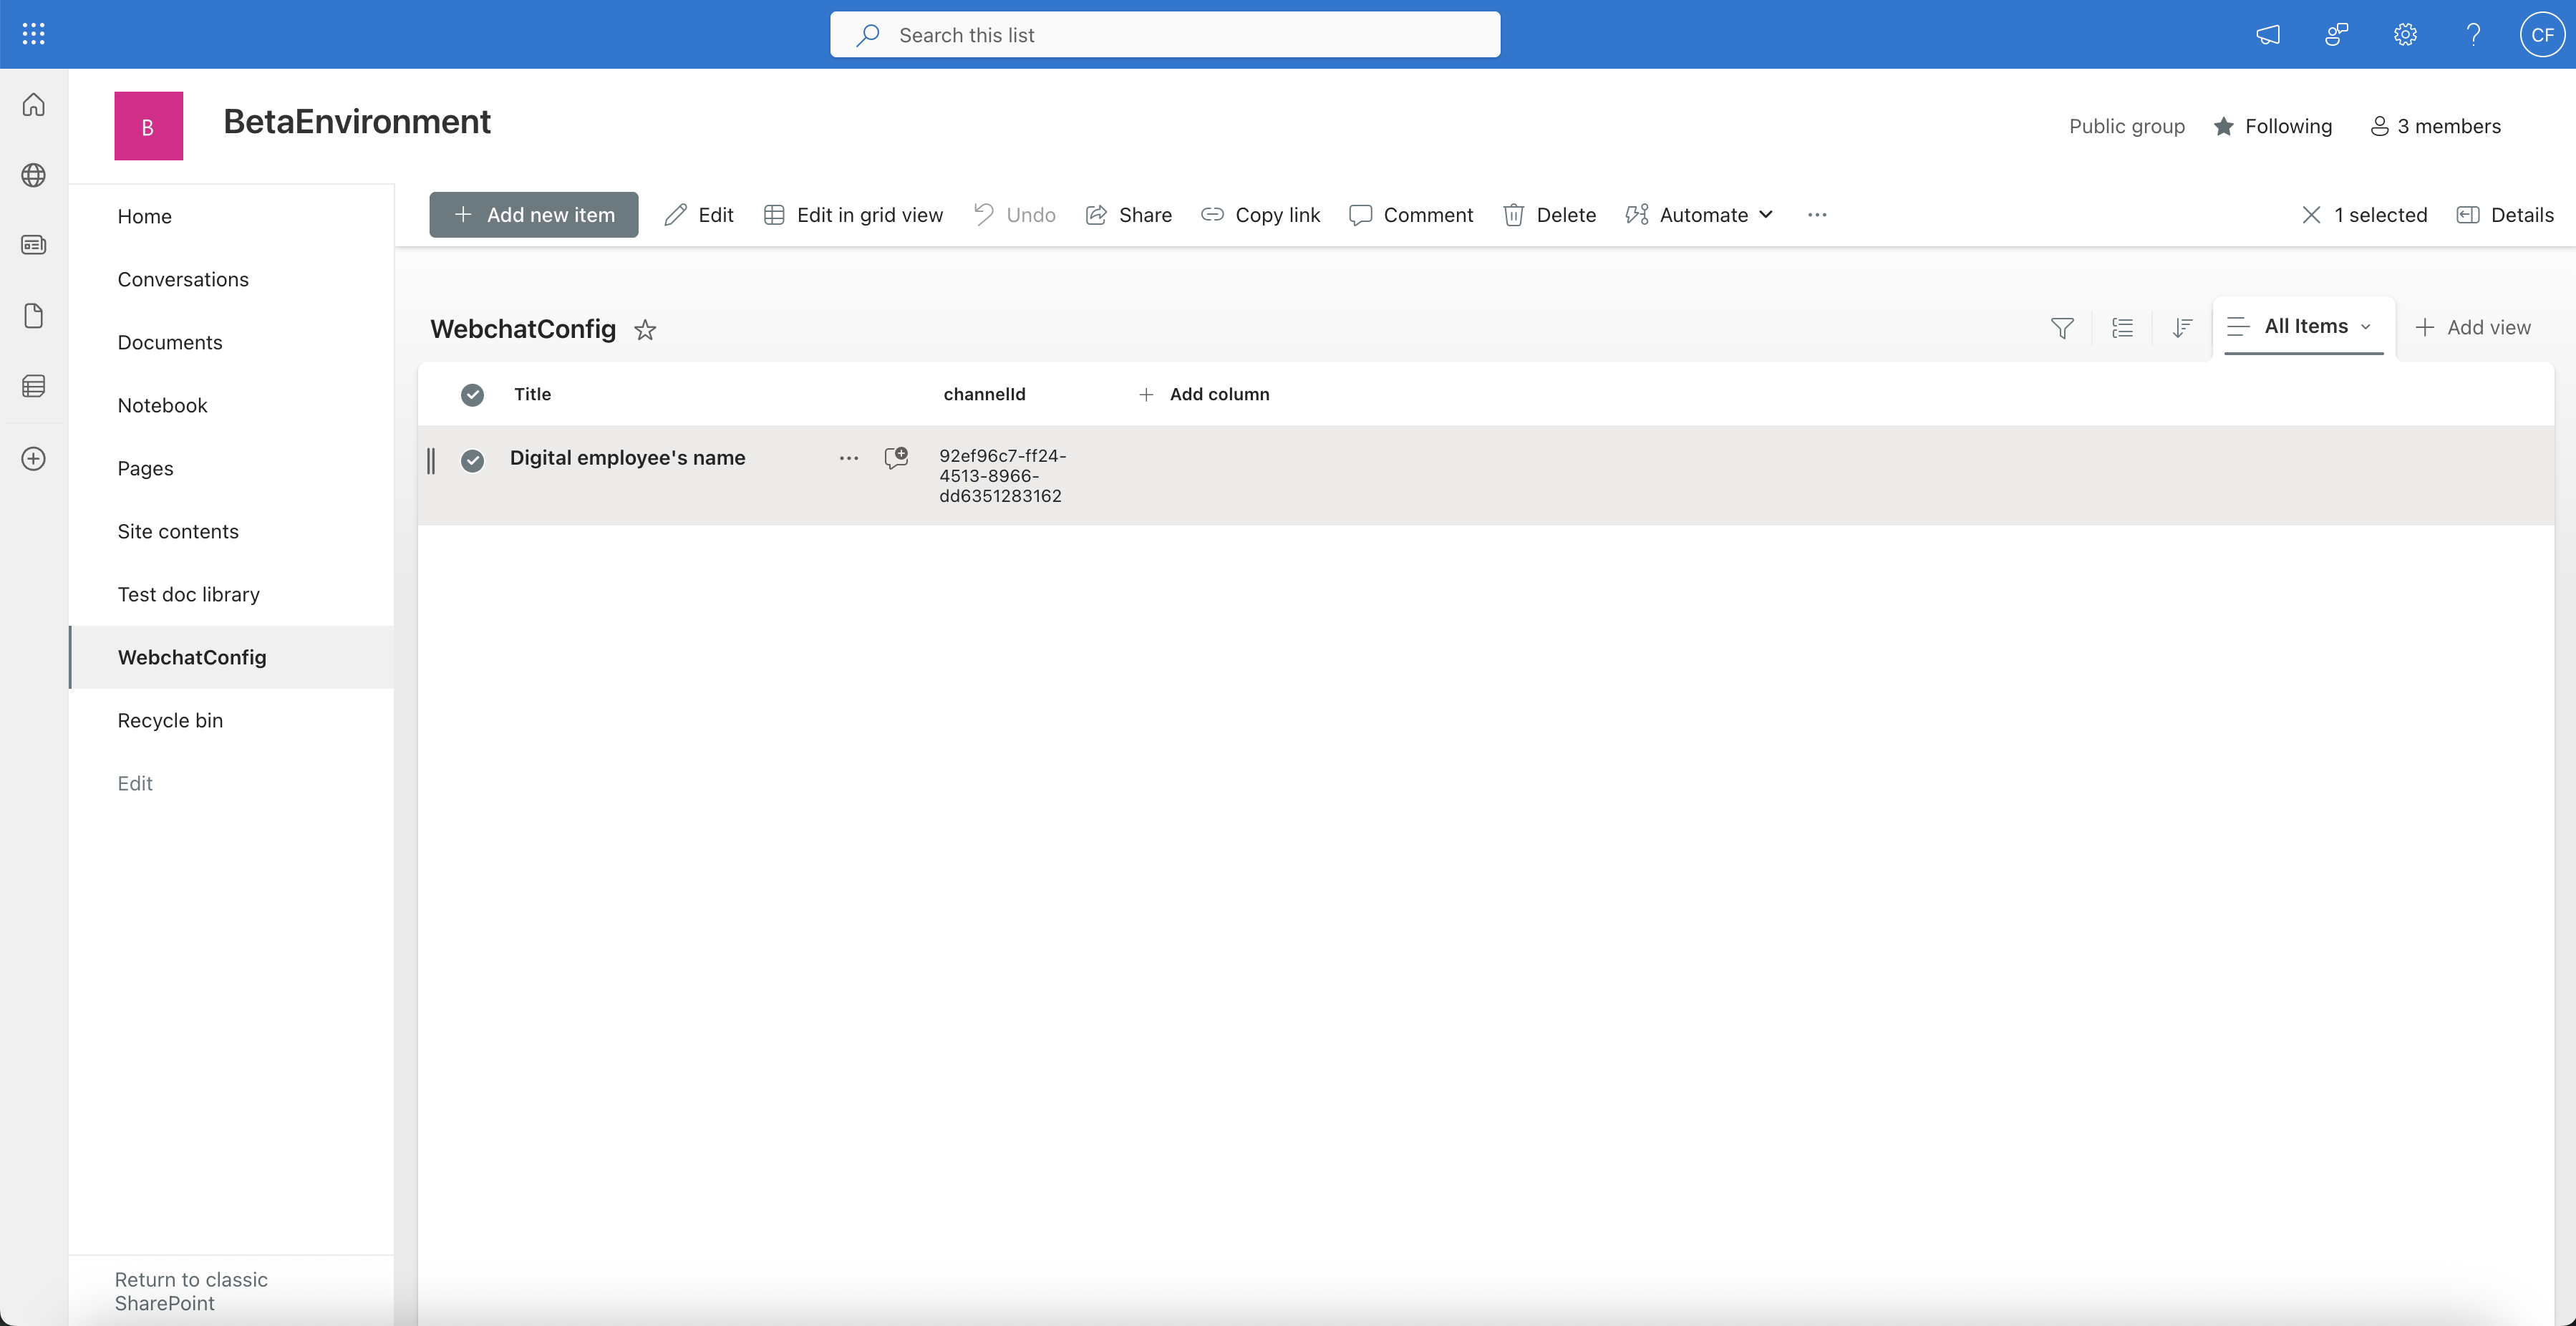
3. Create the configuration list
-
On your target SharePoint site, choose + New → List and name it
WebchatConfig. - Add a single-line-of-text column named
channelId(lowercase). - Add a new item containing your Channel ID.
4. Activate
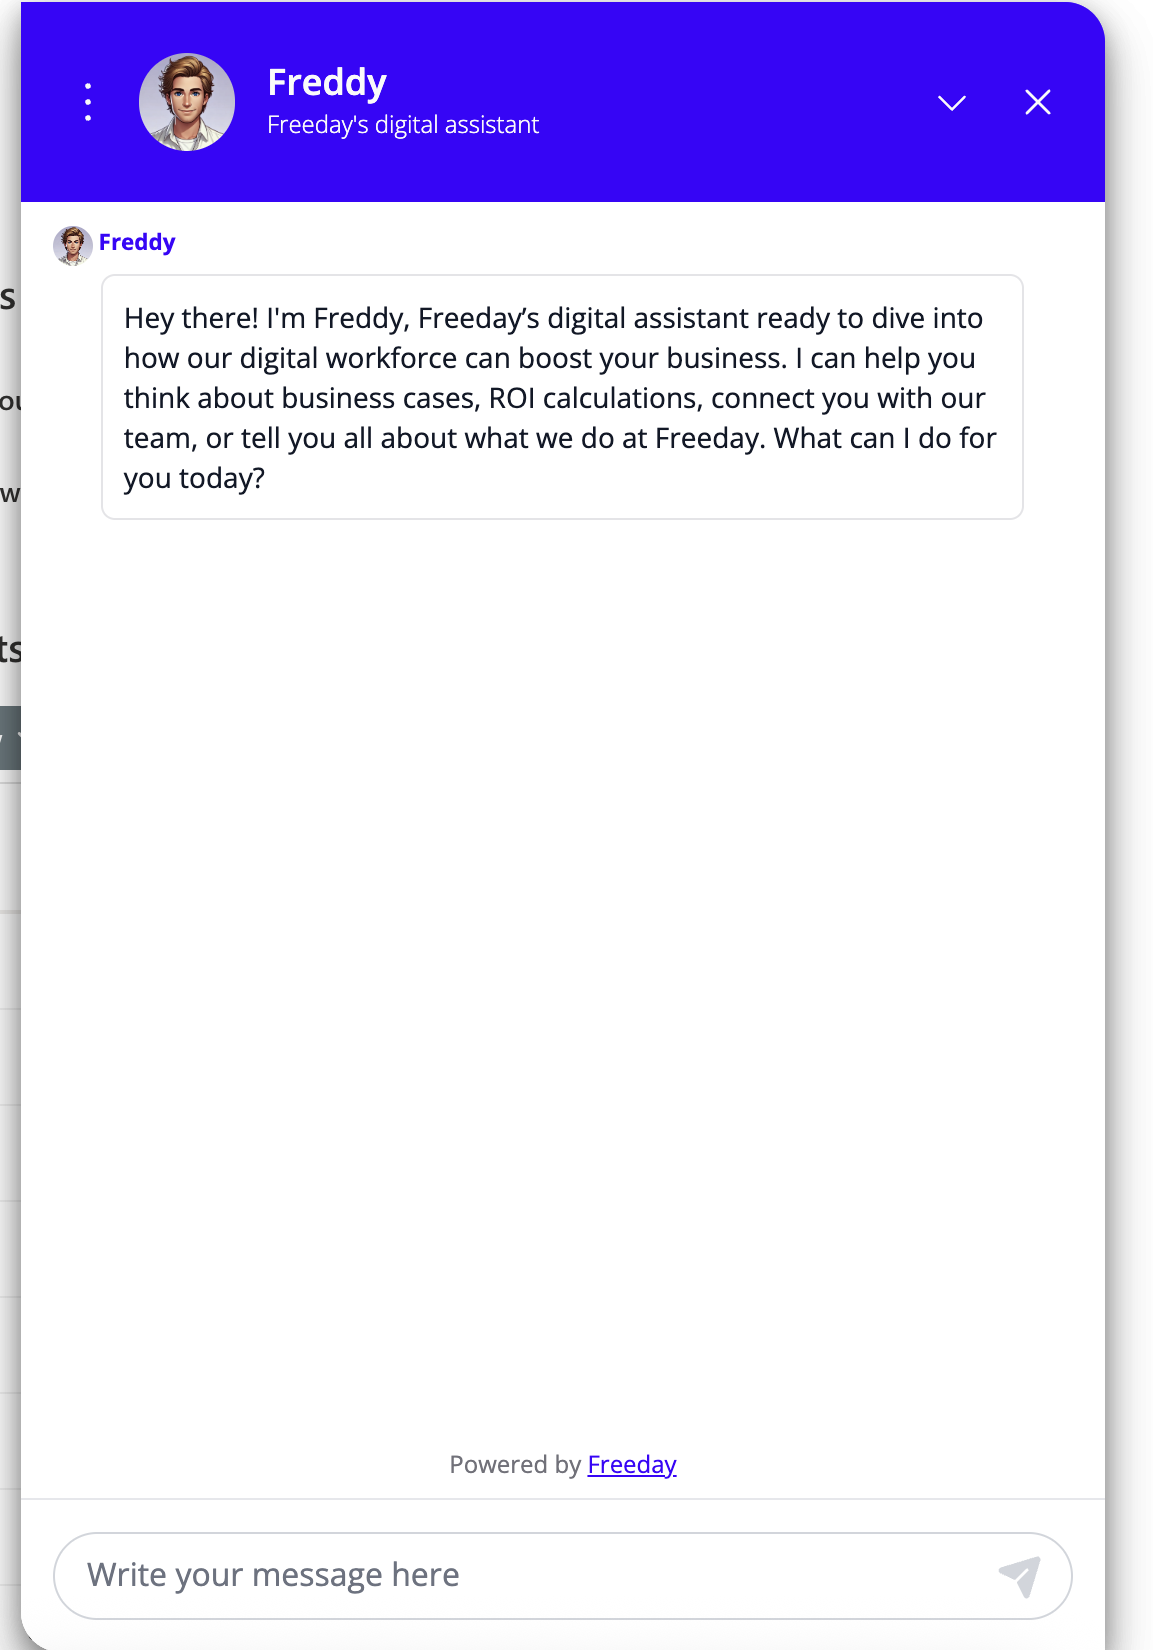
Go to Site Settings → Site App Permissions and add "Freeday Widget
Global", or simply refresh any page. The widget then appears automatically on
every page. To update it later, edit the WebchatConfig list item — changes
apply site-wide.
Troubleshooting
| Issue | Likely cause | Fix |
|---|---|---|
| Widget not loading | Missing security config | Verify your SharePoint domain is in Freeday's allowed websites and https://cdn.jsdelivr.net is in SharePoint's script sources. |
| "Access Denied" | CORS blocked | Add your SharePoint domain to Freeday's allowed websites. |
| CSP errors in the console | External script blocked | Add the CDN to SharePoint's trusted script sources. |
| (Site-wide) widget not appearing | Configuration list issue | The list must be named WebchatConfig, the column must be channelId (lowercase), and the list must have at least one item. |